Ledger.com/Start: A Complete Guide to Setting Up Your Ledger Wallet Securely
Cryptocurrency security is a critical concern for every investor. With increasing online threats, protecting your digital assets has never been more important. Ledger hardware wallets offer one of the most secure ways to store and manage crypto assets offline, protecting them from hackers, malware, and phishing attacks.
To ensure a seamless and safe setup process, Ledger provides Ledger.com/Start—the official platform for initializing and configuring your Ledger device. This guide walks you through everything you need to know about Ledger.com/Start, including how to set up your Ledger Nano S Plus or Ledger Nano X, install Ledger Live, secure your recovery phrase, and use your wallet efficiently.
What is Ledger.com/Start?
Ledger.com/Start is the official onboarding platform for Ledger hardware wallets. It provides step-by-step instructions to help users:
✔ Set up their Ledger wallet securely.
✔ Download and install Ledger Live, the official crypto management software.
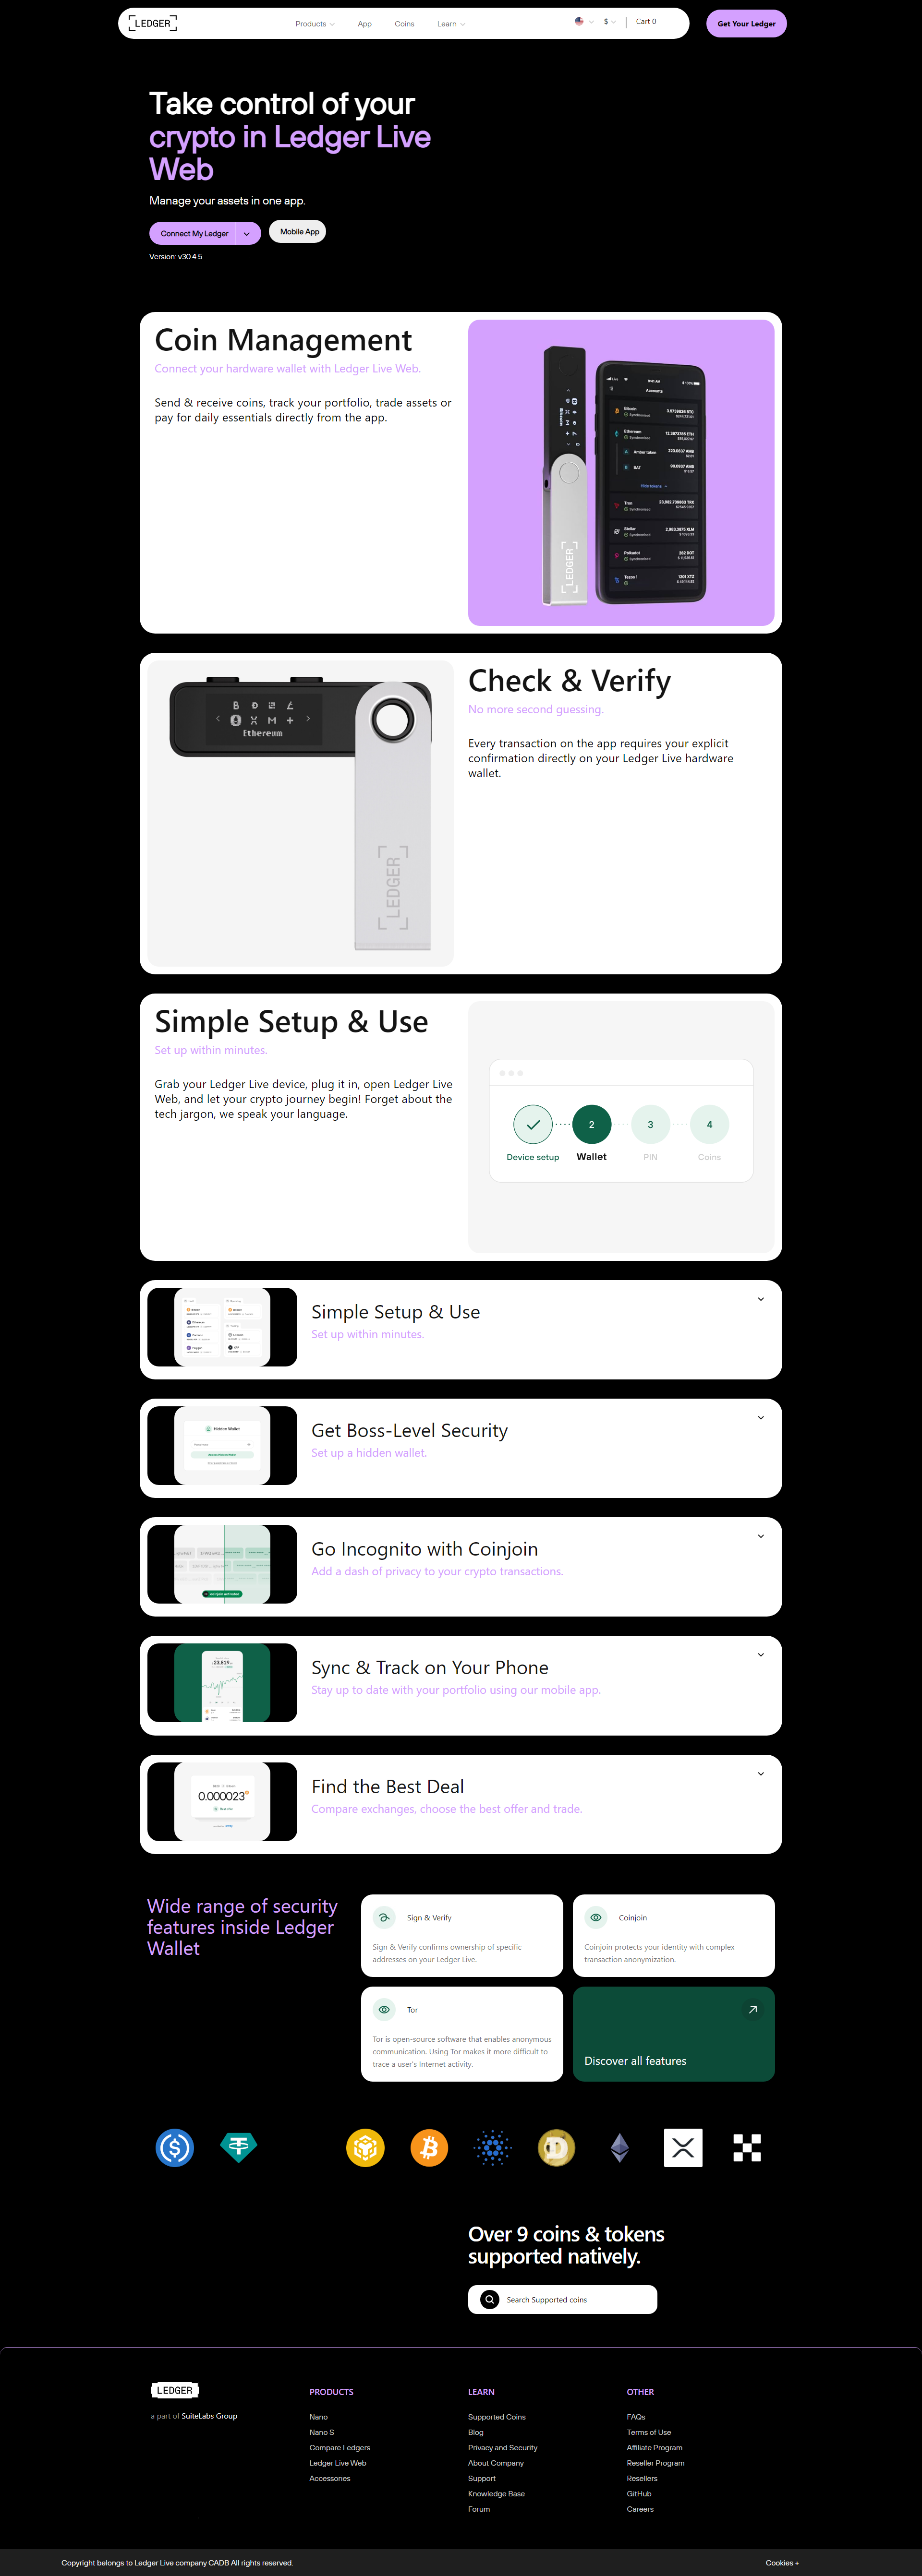
✔ Create a secure PIN and back up the recovery phrase.
✔ Send, receive, and manage cryptocurrencies safely.
Using Ledger.com/Start ensures that users download genuine software and avoid phishing sites or counterfeit products that could compromise their crypto holdings.
Why Use Ledger Hardware Wallets?
Ledger devices provide cold storage, meaning your private keys are stored offline, making them immune to cyberattacks. Here’s why you should use a Ledger wallet:
✔ Secure storage: Private keys remain offline, away from hackers.
✔ Multi-currency support: Supports over 5,500 cryptocurrencies.
✔ User-friendly interface: Easily manage funds with Ledger Live.
✔ Two-factor authentication (2FA): Adds an extra security layer.
✔ Manual transaction verification: Ensures all transactions are authorized by the user.
By following Ledger.com/Start, you ensure that your device is properly set up and configured to provide the best security for your digital assets.
Step-by-Step Guide to Setting Up Your Ledger Wallet
Step 1: Unbox and Verify Your Ledger Device
When you receive your Ledger Nano S Plus or Ledger Nano X, ensure that the package is sealed and untampered. Inside the box, you should find:
- Ledger hardware wallet (Nano S Plus or Nano X).
- USB-C cable for connection.
- Recovery phrase card for writing down your 24-word phrase.
- User guide with instructions.
🚨 Important: Ledger does not include a pre-written recovery phrase. If you find one, do not use the device—it may be compromised.
Step 2: Visit Ledger.com/Start
To begin the setup process, go to Ledger.com/Start on your computer or smartphone. This ensures that you follow the official and secure setup process.
🚨 Warning: Never download Ledger software from third-party websites. Fake sites can steal your funds.
Step 3: Download Ledger Live
Ledger Live is the official management software for your Ledger wallet. It allows you to:
✔ Install crypto apps (Bitcoin, Ethereum, etc.).
✔ Send and receive cryptocurrency.
✔ Check real-time portfolio balance.
✔ Update firmware for security improvements.
📥 Download Ledger Live from Ledger.com/Start and install it on your Windows, Mac, Linux, Android, or iOS device.
Step 4: Connect and Initialize Your Ledger Wallet
- Plug in your Ledger Nano S Plus or Ledger Nano X using the provided USB cable.
- Follow the on-screen instructions in Ledger Live.
- Select “Set up as a new device”.
- Create a 4 to 8-digit PIN code to protect your wallet.
🚨 Never share your PIN with anyone. If someone gets access to it, they can control your wallet.
Step 5: Secure Your 24-Word Recovery Phrase
Your Ledger device will generate a 24-word recovery phrase, which acts as a backup key to restore your wallet if your device is lost or damaged.
✔ Write down the 24 words on the recovery sheet provided.
✔ Store it securely in a safe place (not on a phone, email, or computer).
✔ Never share your recovery phrase with anyone.
🚨 If you lose your recovery phrase, you may permanently lose access to your funds.
Step 6: Install Crypto Applications
Your Ledger wallet does not store cryptocurrencies directly. Instead, it allows you to access and manage them securely through installed applications.
To install apps:
- Open Ledger Live.
- Navigate to the Manager tab.
- Select and install apps for cryptocurrencies like Bitcoin (BTC), Ethereum (ETH), and Ripple (XRP).
🔹 Ledger Nano S Plus has a larger storage capacity than the older Nano S, allowing more apps to be installed at once.
How to Use Your Ledger Wallet for Transactions
Receiving Crypto
- Open Ledger Live.
- Click Receive, then select the cryptocurrency.
- Copy the wallet address and send it to the sender.
- Confirm the address on your Ledger device before receiving funds.
🔹 Always verify the address on your Ledger screen to prevent phishing attacks.
Sending Crypto
- Open Ledger Live and click Send.
- Enter the recipient’s address and amount.
- Confirm the transaction details on your Ledger device.
- Approve the transaction manually using the buttons on your Ledger wallet.
🔹 Never send crypto without verifying the recipient address on your device.
Troubleshooting Common Ledger Issues
1. Ledger Wallet Not Recognized?
✔ Use a different USB cable or port.
✔ Ensure Ledger Live is updated.
✔ Restart your computer and try again.
2. Ledger Live Not Installing?
✔ Download only from Ledger.com/Start.
✔ Disable antivirus temporarily if it blocks the installation.
3. Lost Your Recovery Phrase?
✔ Without the 24-word recovery phrase, there is no way to recover your wallet. Ledger cannot help you recover it, so store it safely.
Final Thoughts
A Ledger hardware wallet is an essential tool for securing cryptocurrency investments. By following the setup process at Ledger.com/Start, you ensure that your device is properly configured for maximum security.
Key Takeaways:
✔ Ledger.com/Start is the only official Ledger setup page.
✔ Ledger Live is required to manage crypto assets securely.
✔ The 24-word recovery phrase is crucial—store it offline in a secure location.
✔ Transactions must be manually approved on the Ledger device, reducing the risk of unauthorized transfers.